Intro
Flexxible|SUITE allows you to automatically create new VMs by using a Windows ISO image and other installable.
Note: Template and server creation is not currently supported for Azure VM Managers
Machine types
The VMs that Flexxible|SUITE is able to automatically generate are:
Servers for tenants (e.g. a file server, IIS server, etc.). "SecureServer" tag in the hypervisor.
Desktop templates (desktop template definitions; in earlier versions simply named “templates”). "MasterImage" tag in the hypervisor.
Application templates (application template definitions). This type of VM template is used to publish applications via XenApp or to start SDI ("Shared Desktop Infrastructure") sessions, where the user opens a desktop session in an application server, which is shared with other desktop or application sessions.
Tags
In a hypervisor, the VMs will be tagged like this:
Machine type |
Tag |
Desktop |
(none, empty) |
Desktop template definition |
MasterImage |
Application template definition |
AppServerTemplate |
Server for Tenant |
SecureServer |
Flexxible IT infrastructure server |
Infrastructure |
Surrogate (for templates) |
MasterImage Surrogate |
Application server (in a farm) |
AppServer |
Please, see more info about tags in the "VM Type" article.
Servers
The server creation feature is only enabled in "Flexxible|SUITE Platinum Multitenant". While the application server creation functionality is available in the whole "Flexxible|SUITE" family: "Flexxible|SUITE Enterprise", "Flexxible|SUITE Platinum" and "Flexxible|SUITE Platinum Multitenant".
Having available a VM model of "Server" type is mandatory in order to create a new server in "Flexxible|SUITE Platinum MT". Please read the article "VM Models" for more information about VM models.
VM Model creation
To create a new VM model, please follow these steps:
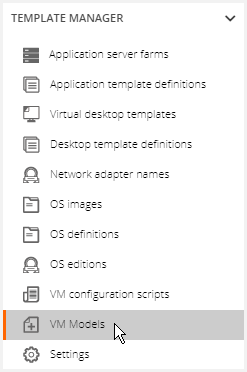
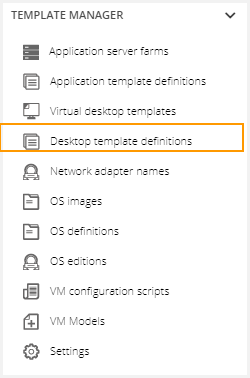
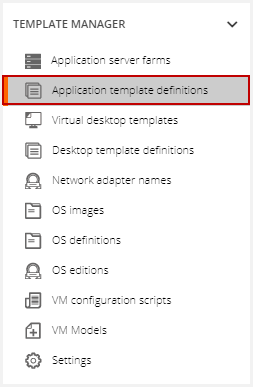
- Access to the "VM Models" section by clicking in this option in the "Template Manager" area on the left menu:
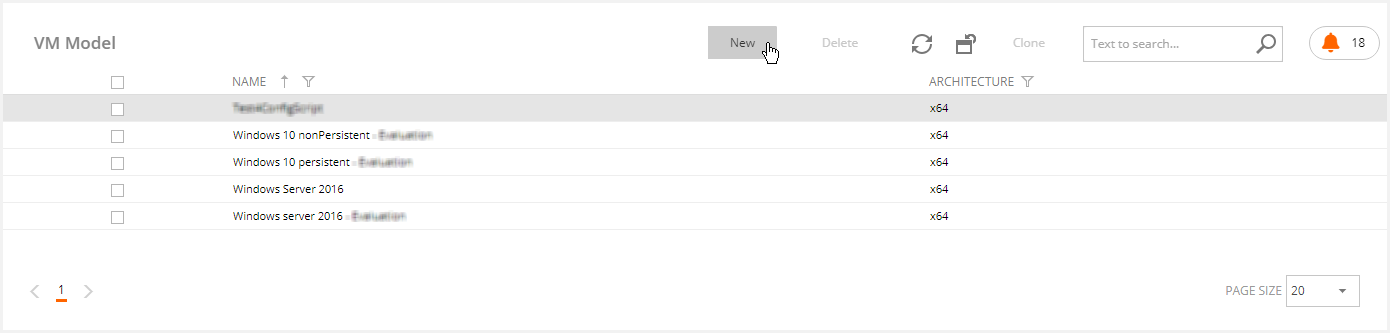
- Click in the "New" button in the "VM Model" screen:
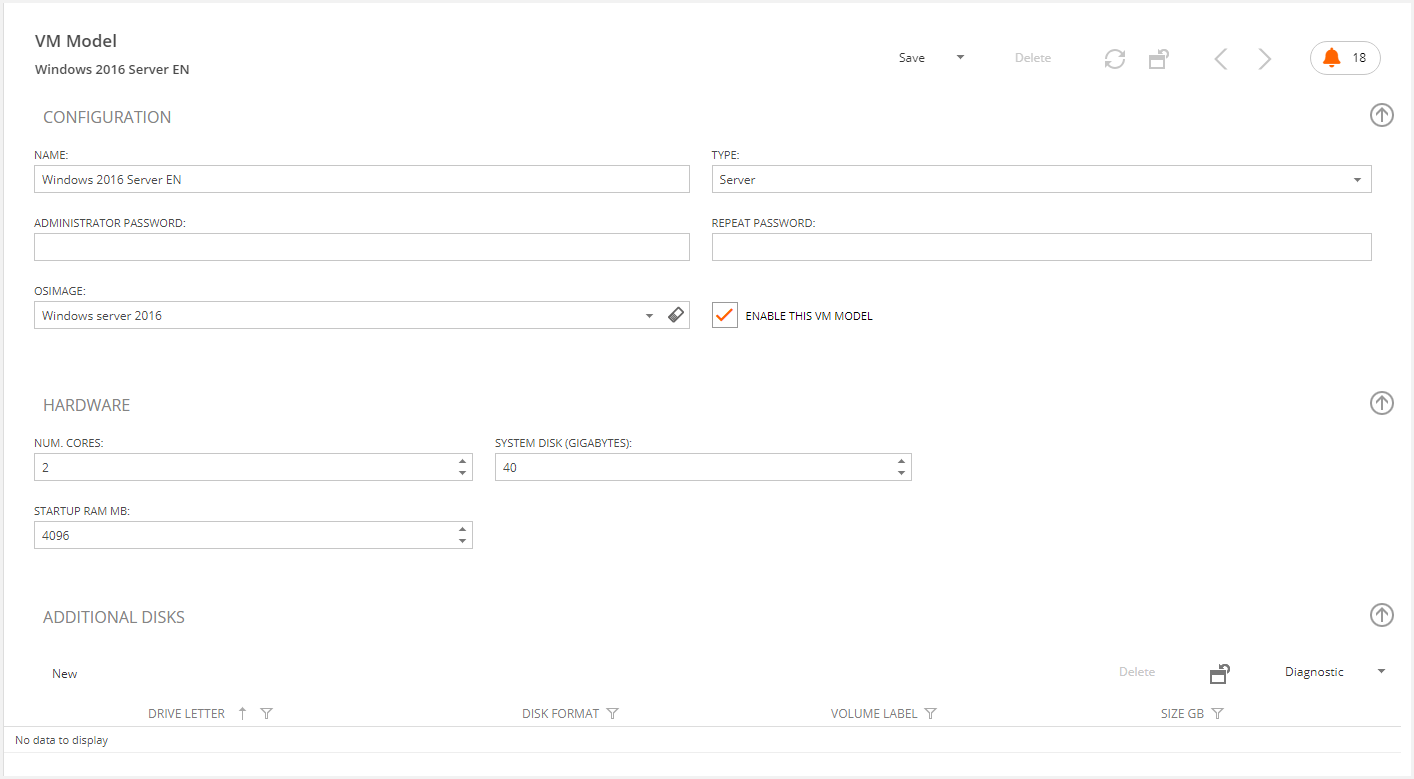
- Populate the mandatory data in the "VM Model" form and save the changes:
Server creation
To create a new server from a VM model, please follow these steps:
Open the tenant detail, which the new server will be created for.
Click in the "Servers" tab.
- Click in the "New" button.

-
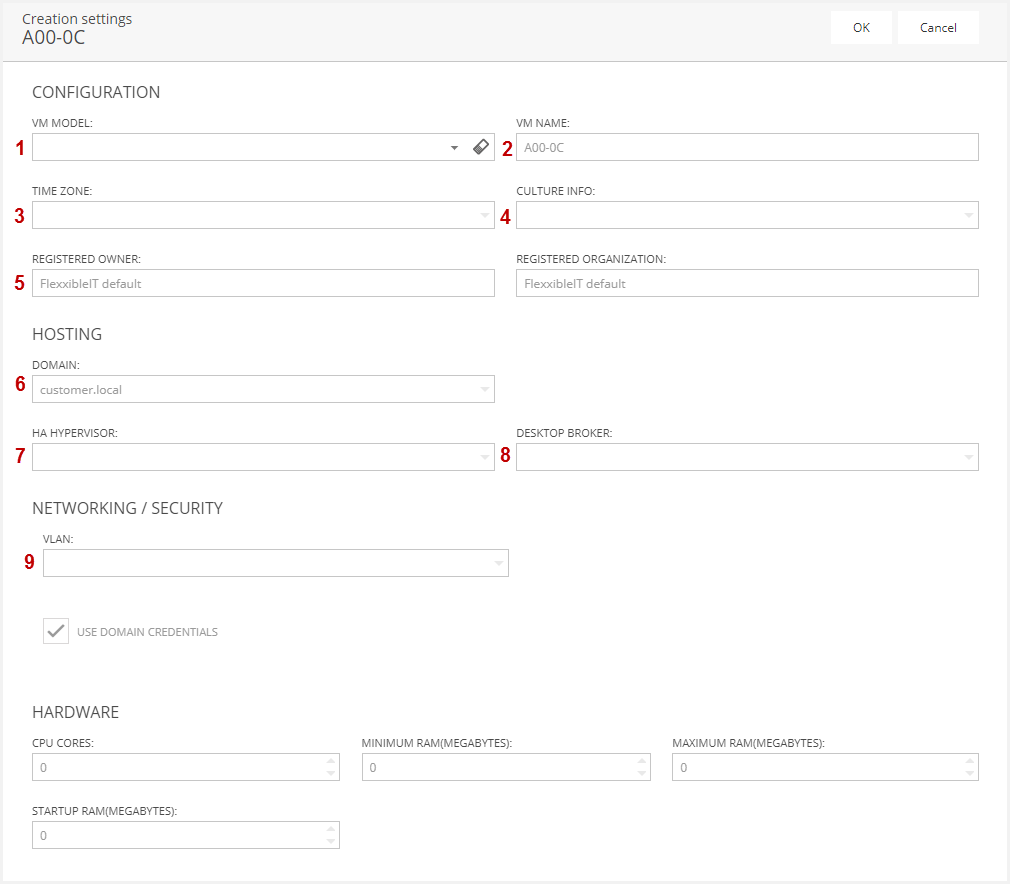
On the new server "Creation settings" modal screen, please populate the required fields:
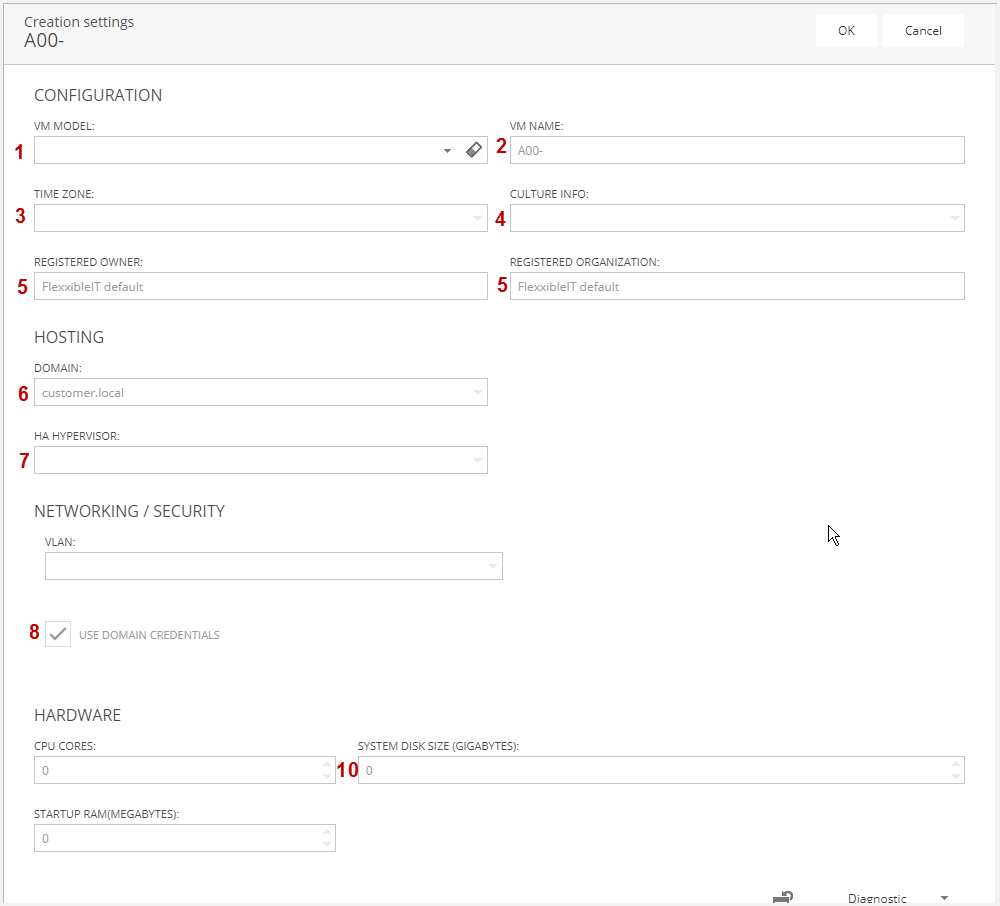
- VM Model: to be used as a template for the new server.
- VM Name: it should be 15 characters long at most and start with the Tenant code.
- Time zone: time zone to be used in the new VM.
- Culture info: culture code (language and country) to be used in the new VM. This applies to the region setting (formats for currency, date, time, etc.) but not the UI language, which is predetermined by the ISO image.
- Registered owner and organization: both will be auto-populated with the name of the user/tenant, which will be set as the Windows registered user/company in the new VM.
- Domain: select the domain where you want to create the machine account for the new VM. The domains defined in VDI OS are shown up.
- HA Hypervisor: only visible for administrators. This allows you to change the HA hypervisor that the VM location algorithm chose as optimal. Only HA hypervisors that meet the minimum requirements may be chosen.
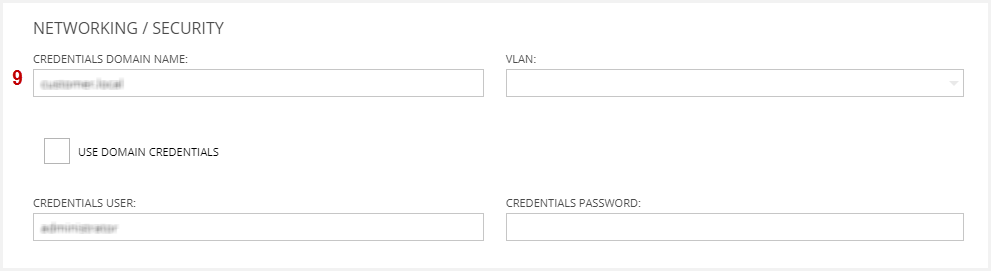
- Use domain credentials: if this box is checked, the “VM Creation user” credentials defined in the domain as the identity will be used to install the new VM. These credentials should have the appropriate permissions to add the VM to the domain.
- Credentials user and Credentials password: credentials to be used for the installation; they must have the appropriate permissions to add the VM to the domain. They are only shown if the “User domain credentials” box is not checked.
- System disk size: although the size defined in the VM model is suggested, it can be changed for this particular new server.
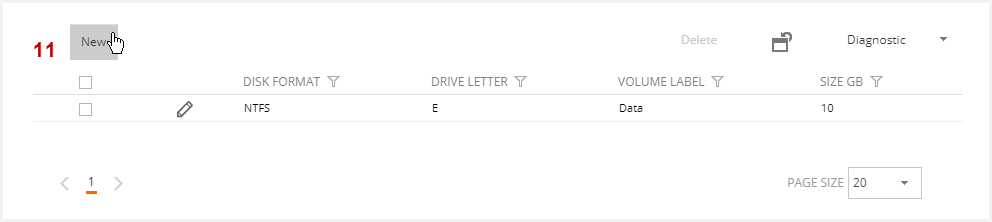
- Additional disks: although the additional disks defined in the VM model will be suggested, you can add, remove or modify them for this particular new server. The size allows values between 1 and 500 GB.
5. When you press "OK", a job will be launched and it will create the new VM. The creation process for new VM may take between 20 and 60 minutes, depending on the operating system and the settings defined in the VM model. The progress of the process may be monitored by opening the job detail in the jobs list.
Templates
The manual template creation feature is only enabled in Flexxible|SUITE Platinum and it is located at the desktop/application definition area, whereas the automatic template creation functionality is available in the tenant area -via the tenant template creation feature- in Flexxible|SUITE Enterprise and Flexxible|SUITE Platinum Multitenant.
Desktop template
There are two ways of creating a new desktop template. Both ways share the same form to provide data once.
From the "Desktop template definitions" section:
- In the “Desktop template definitions" list, click the "New" button at the top.
From the "Tenant detail" area
- In the "Tenant detail", "Templates" tab, use the “New template" -> "Desktop template definition from OS image" menu option. The new template will be created, right after the new tenant template.
New template form
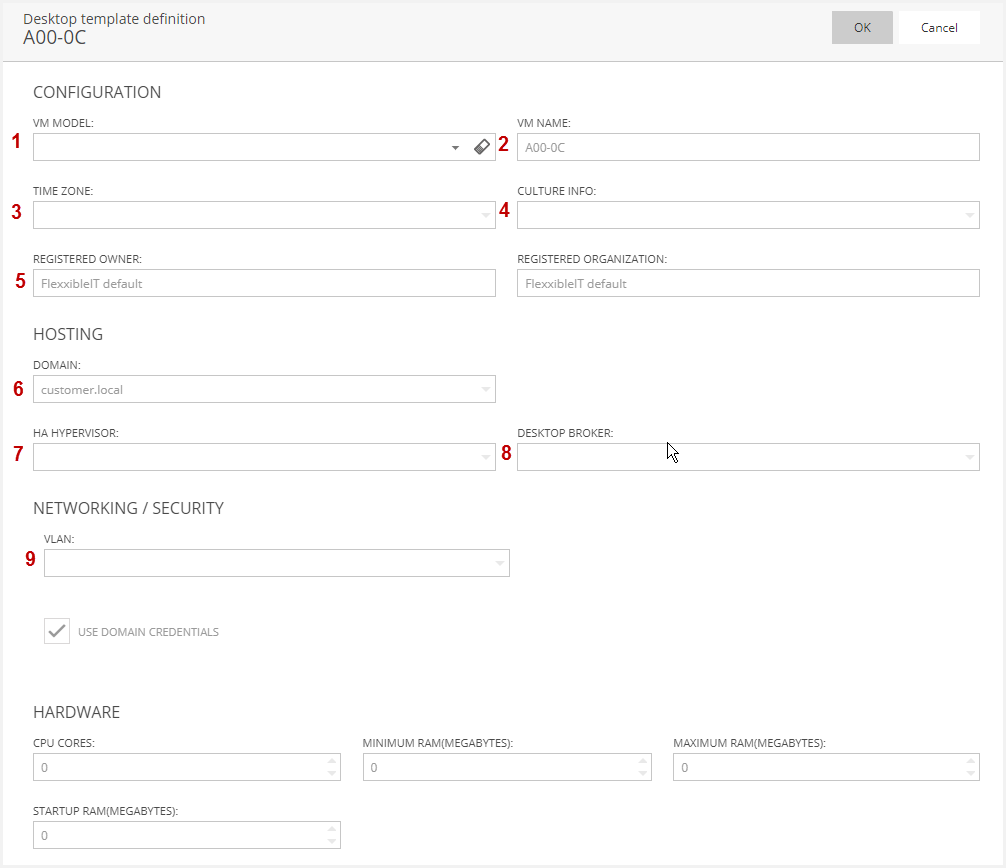
VM Model: a customized virtual machine to be used as a pattern for the new template.
VM Name: a template name for the tenant is suggested.
Time zone: time zone to be used in the new VM.
Culture info: culture code (language and country) to be used in the new VM. This applies to the region setting (formats for currency, date, time, etc.) but not the UI language, which is predetermined by the ISO image.
Registered owner and organization: name of the user/Tenant; this will be set as the Windows registered user/company in the new VM.
OU: (only for Enterprise) select the OU where the new VM will be created.
HA Hypervisor: only visible for administrators. This allows you to change the HA hypervisor that the VM location algorithm chose as optimal. Only HA hypervisors that meet the minimum requirements may be chosen.
Desktop broker: this allows you to select the XenDesktop site when the HA hypervisor selected is visible from more than one XenDesktop site.
Use domain credentials: if this box is checked, the “VM Creation user” credentials defined in the domain as the identity will be used to install the new VM. These credentials should have the appropriate permissions to add the VM to the domain.
Credentials user and Credentials password: credentials to be used for the installation; they must have the appropriate permissions to add the VM to the domain. They are only shown if the “User domain credentials” box is not checked (please, see the image at the server creation point).
When you press the "OK" button, a job will be launched and it will create the new VM. The creation process for new VM may take between 20 and 60 minutes, depending on the operating system and the settings defined in the VM model. The progress of the process may be monitored by opening the job detail in the jobs list.
Application template
There are two ways of creating a new application template. Both ways share the same form to provide data once.
From the "Application template definition" section
-
Click the "New" button at the top.
From the "Tenant detail" area
- In the "Tenant" detail, "Templates" tab, select the "New template" -> "Application template definition from OS image" menu option. The new template will be created, right after the new tenant template.
New template form:
VM Model: a customized virtual machine to be used as a pattern for the new template.
VM Name: a template name for the tenant is suggested.
Time zone: time zone to be used in the new VM.
Culture info: culture code (language and country) to be used in the new VM. This applies to the region setting (formats for currency, date, time, etc.) but not the UI language, which is predetermined by the ISO image.
Registered owner and organization: name of the user/Tenant; this will be set as the Windows registered user/company in the new VM.
OU: (only for Enterprise) select the OU where the new VM will be created.
HA Hypervisor: only visible for administrators. This allows you to change the HA hypervisor that the VM location algorithm chose as optimal. Only HA hypervisors that meet the minimum requirements may be chosen.
Desktop broker: this allows you to select the XenDesktop site when the HA hypervisor selected is visible from more than one XenDesktop site.
Use domain credentials: if this box is checked, the “VM Creation user” credentials defined in the domain as the identity will be used to install the new VM. These credentials should have the appropriate permissions to add the VM to the domain.
Credentials user and Credentials password: credentials to be used for the installation; they must have the appropriate permissions to add the VM to the domain. They are only shown if the “User domain credentials” box is not checked(please, see the image at the server creation point).
When you press OK, a job will be launched that will create the new VM. The creation process for new VM may take between 20 and 60 minutes, depending on the operating system and the settings defined in the VM model. The evolution of the process can be monitored by opening the job detail in the jobs list.